Step 1: Prepare the Henna Paste
Start by mixing henna powder with lemon juice or essential oils in a mixing bowl. The acidity of lemon juice helps release the dye in the henna, resulting in a richer stain. Add a teaspoon of sugar to the mixture to improve its consistency and stickiness. Stir the ingredients until you achieve a smooth, thick paste. Allow the paste to rest for a few hours, preferably overnight, to allow the dye to release fully.

Step 2: Choose Your Design
Whether you're a beginner or an experienced artist, selecting a design is a crucial step in the mehndi process. You can find inspiration from traditional patterns, modern designs, or create your own unique motifs. If you're new to mehndi, start with simple designs featuring basic shapes like flowers, leaves, and paisleys. You can experiment with more intricate designs.

https://www.youtube.com/@Hennafever-qk1hx
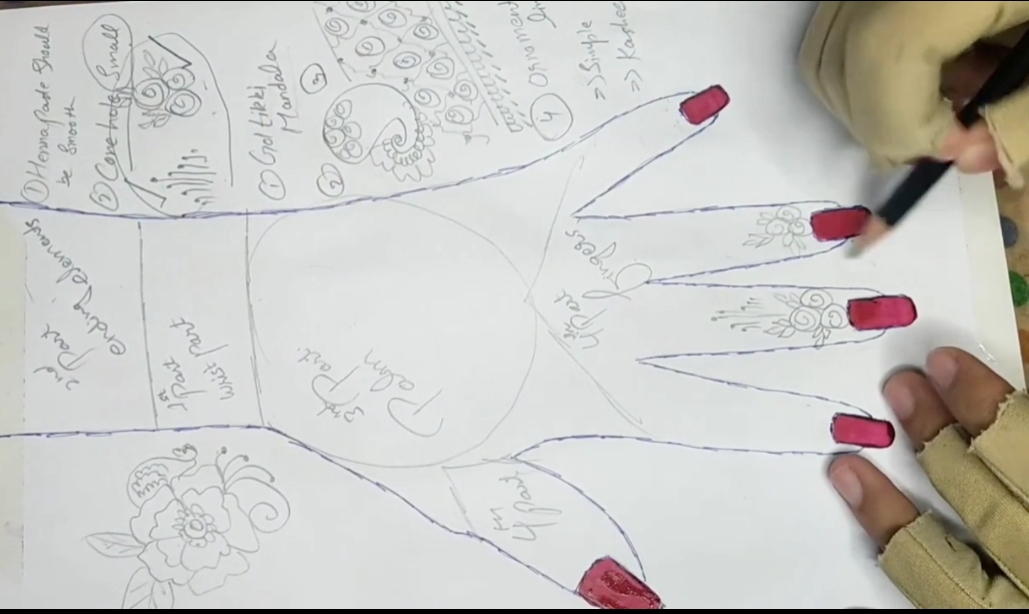
Step 3: Practice Your Technique
Practice makes perfect when it comes to mehndi. Before applying the design on your skin, practice drawing the patterns on a piece of paper or practice skin. This will help you refine your technique, perfect your lines, and gain confidence in your abilities. Pay attention to pressure control and consistency of the henna flow from the cone or applicator bottle.

Step 4: Apply the Mehndi
Once you feel comfortable with your design and technique, it's time to apply the mehndi on your skin. Start by cleaning the area where you'll be applying the henna to ensure it's free of oil and dirt. Gently squeeze the cone or bottle to create a steady flow of henna, and begin tracing your chosen design onto the skin. Take your time and work methodically, starting from the center and working your way outwards. If you make a mistake, don't worry – you can easily correct it with a cotton swab dipped in lemon juice.

Step 5: Allow the Henna to Dry
After you've finished applying the mehndi, allow it to dry completely before touching anything or moving around too much. Depending on the temperature, this may take 30 minutes to a few hours. You can use a hairdryer on a cool setting.
Step 6: Seal and Remove
Once the mehndi has dried, gently seal the design by dabbing a mixture of lemon juice and sugar over it using a cotton ball. This will help intensify the color and prolong the longevity of the design. Leave the sealant on for a few hours, then gently scrape it off with tissue paper or a dry cloth. Avoid using water for at least 12 hours to allow the dye to fully develop.
Comments
Post a Comment